

As our global pandemic continues, we are sending our best wishes and positive energy your way. We hope you are well and that your spirits are high. Something that might help is reading this article from the Centre for Disease Control which supports how important it is to keep doing what we do in these crazy times!
Now, on with the post. This project is great for developing knife skills beyond the pointy stick. By using stop cuts and concave cuts, it is an excellent next step for those students motivated to take their whittling skills to the next level. If you haven’t used knives with students before, head to our Knife Basics page. Make sure your knives are sharp and your wood is fresh, and let’s go!
A note on COVID19
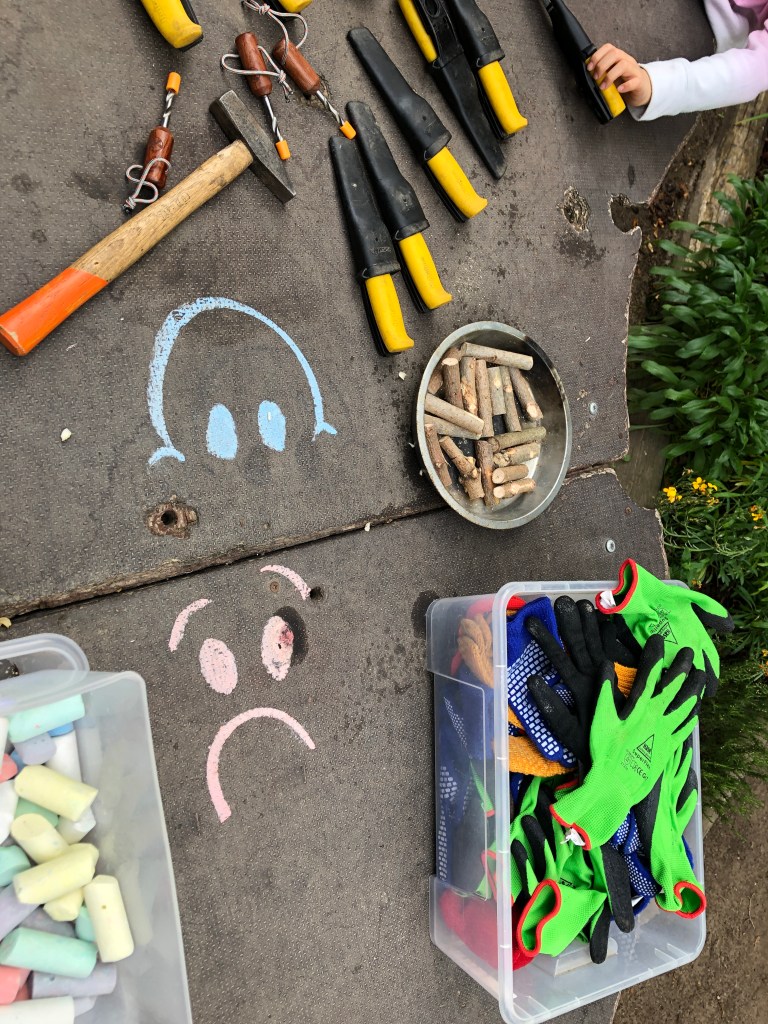
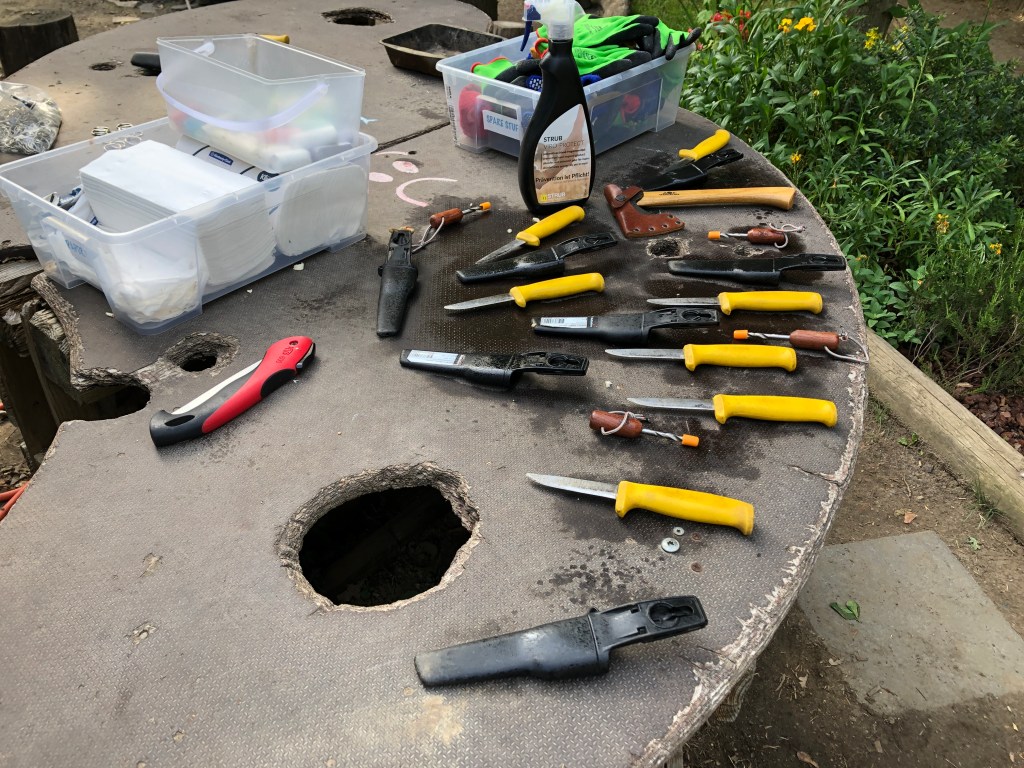
We made this project near the end of our last school year. Only just back in school after our COVID19 lockdown, we were looking for hands on projects to balance the amount of time spent on screens during our Home Learning programme. Our system for tools was anything that had been used ended up on the “unhappy” side of the table where it was disinfected and moved to the “happy” side. Any tools on the “happy” side were fair game.
Step 1) Gather Materials
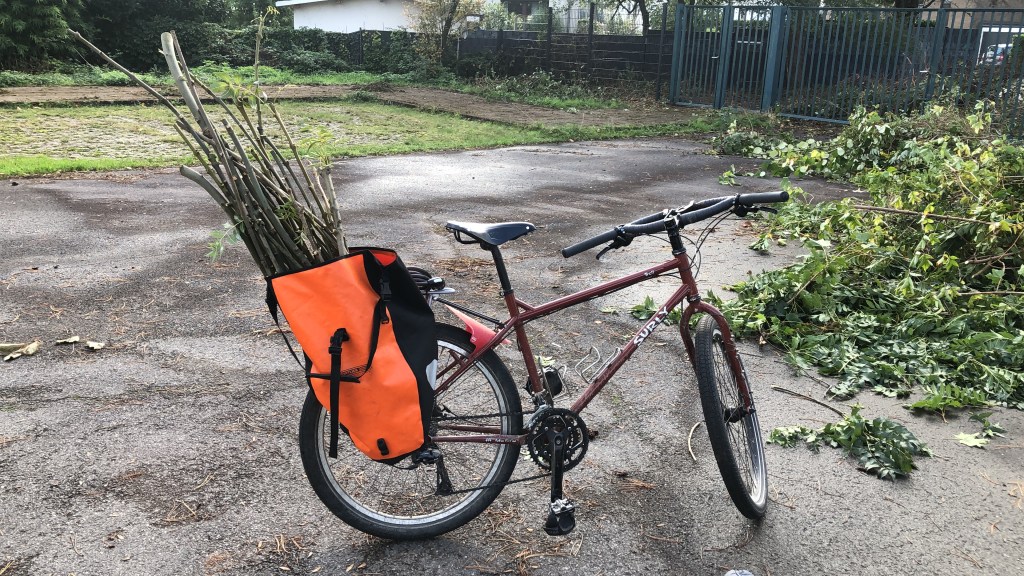
As with our post on How to Make Wooden Spinners, the wood for this can be anything that you have lying around. We used bits of hazel and also the thicker branches that we had leftover from our Christmas tree haul. Diameters of 1.5cm up to 2.5cm are good. Too thin and the project can crack during the drilling process. Too thick and your keyring can get a little bit too chunky to be fit for purpose. As always, the fresher your wood, the easier it will be to carve. Avoiding harder woods, such as oak, will also set your students up for carving success.
Step 2) Measure and Cut
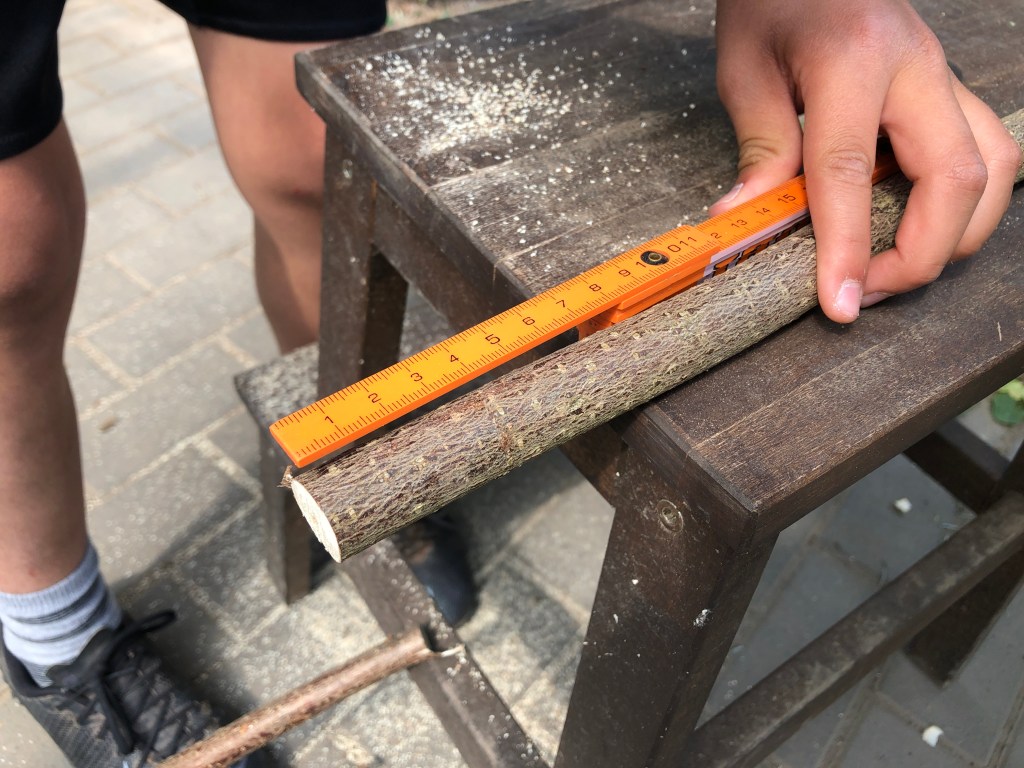
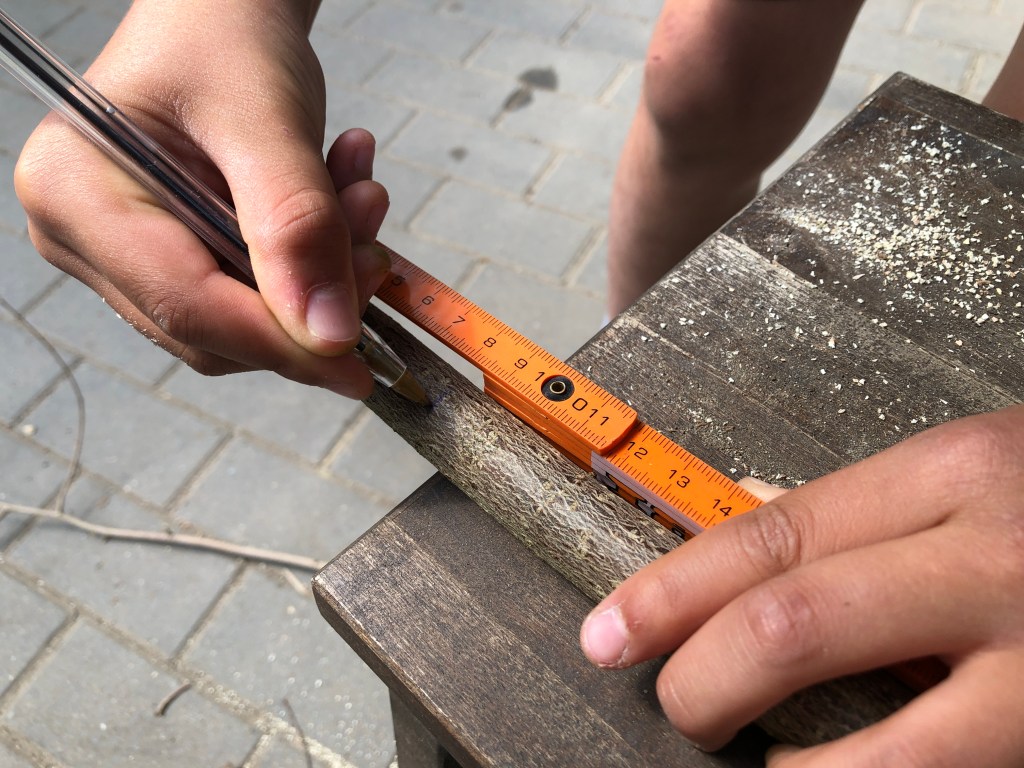
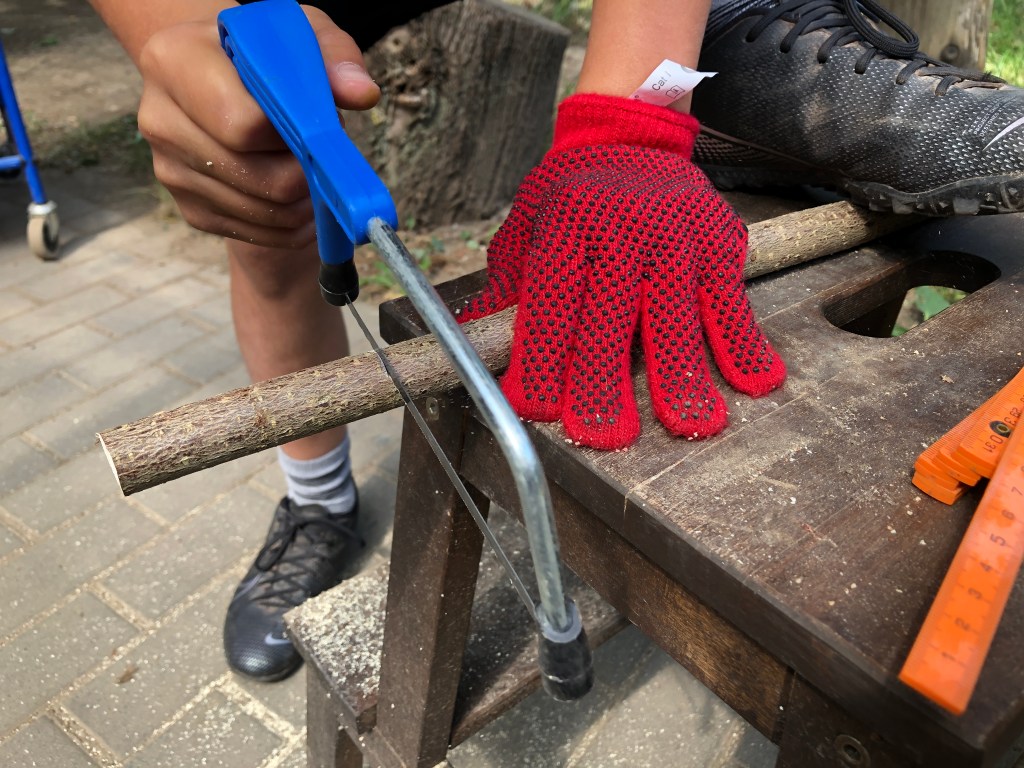
Get those measuring sticks out. We went with 8cm in length. In actual fact, the measuring process is not really necessary, but any opportunity to get our students using their measuring skills in an authentic context is a win. “Measure twice, cut once” and then hacksaws at the ready. If your students haven’t had much sawing experience, put yourself in a position to assist or give them some time to practise.
Top sawing tips: Glove on the “helping hand” and maintain those space bubbles.
Step 3) Carve one end flat
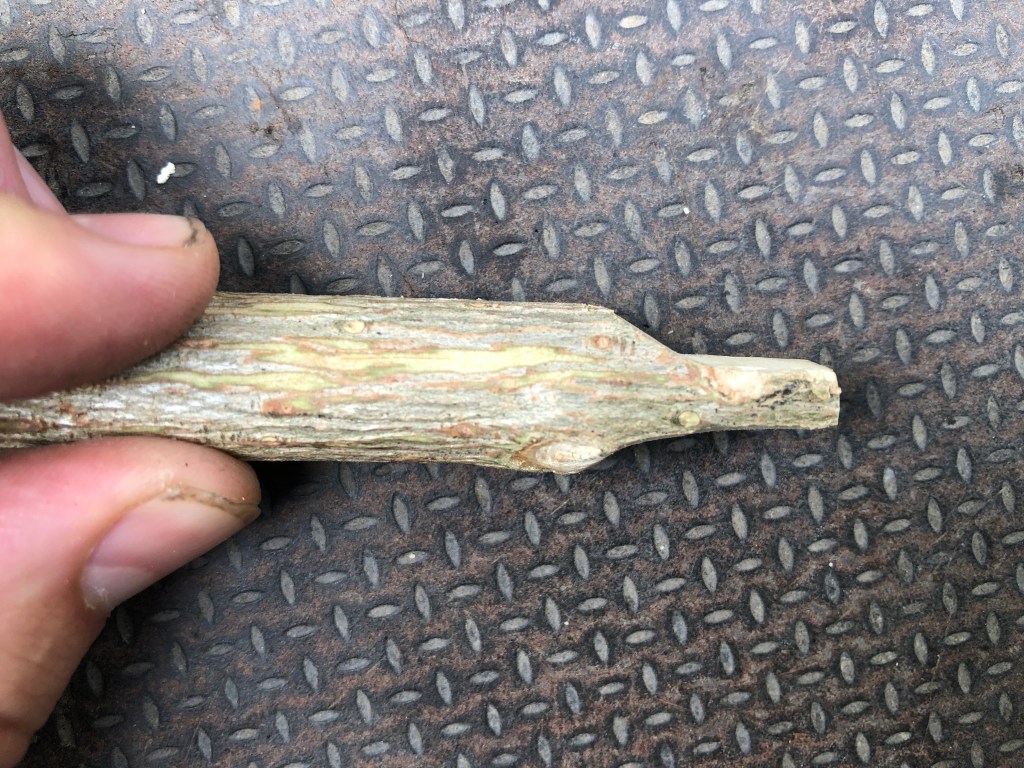
This step involves using concave cuts to create a flat surface on one end of your stick using a sheath knife. Concave cuts, according to Richard Irvine in his awesome whittling book Forest Craft (affiliate link), requires changing the angle of the blade as it moves through the wood. We find it useful for our students to connect this action to that of accelerating on a motorbike (insert sound effects as appropriate).
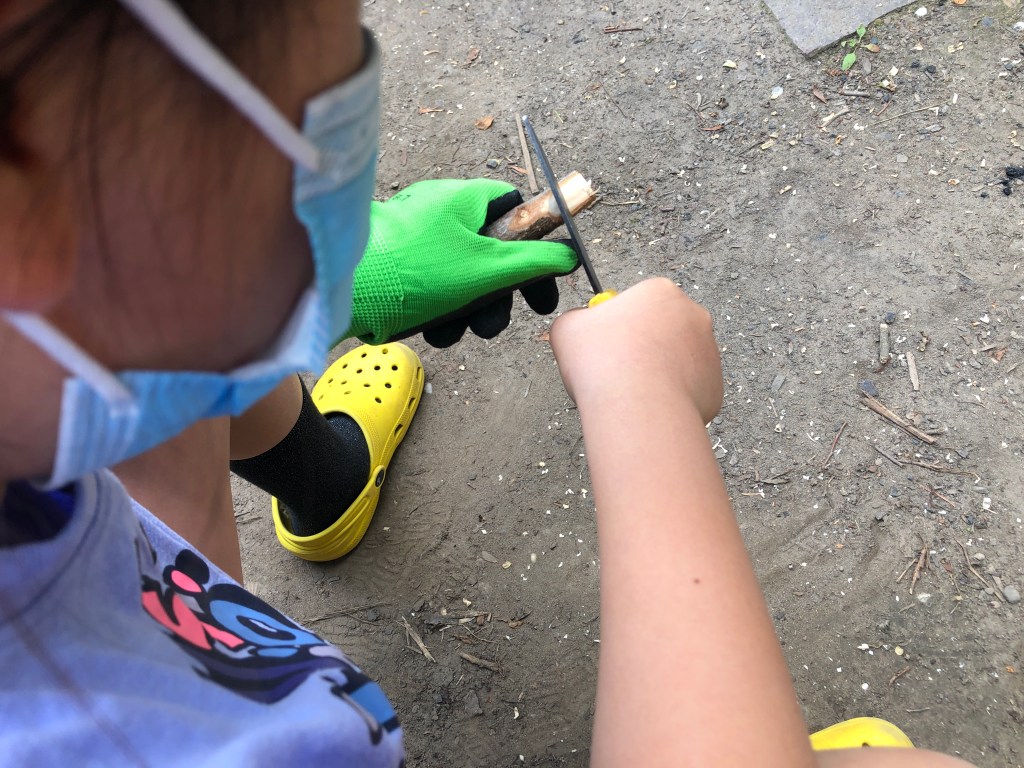
Step 4) Drill the hole
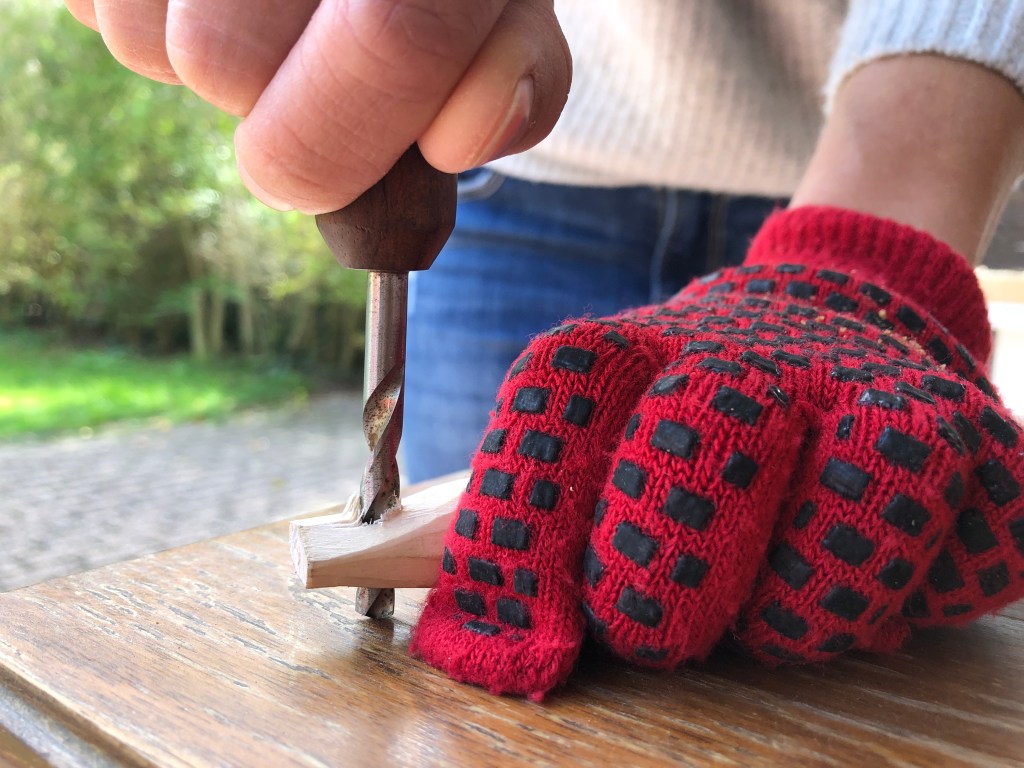
Our hand drills have 5mm bits, but you can play around with different sizes that you have. A round file can be useful for making small holes bigger if you think you need to. Aim to get your hole as central as possible and be careful not drill too close to the top of your stick, as this may cause the project to crack.
Top drilling tips: Glove on the “helping hand” and find a table or surface to drill onto. Avoid pushing the drill towards you hand.
Step 5) Decorate
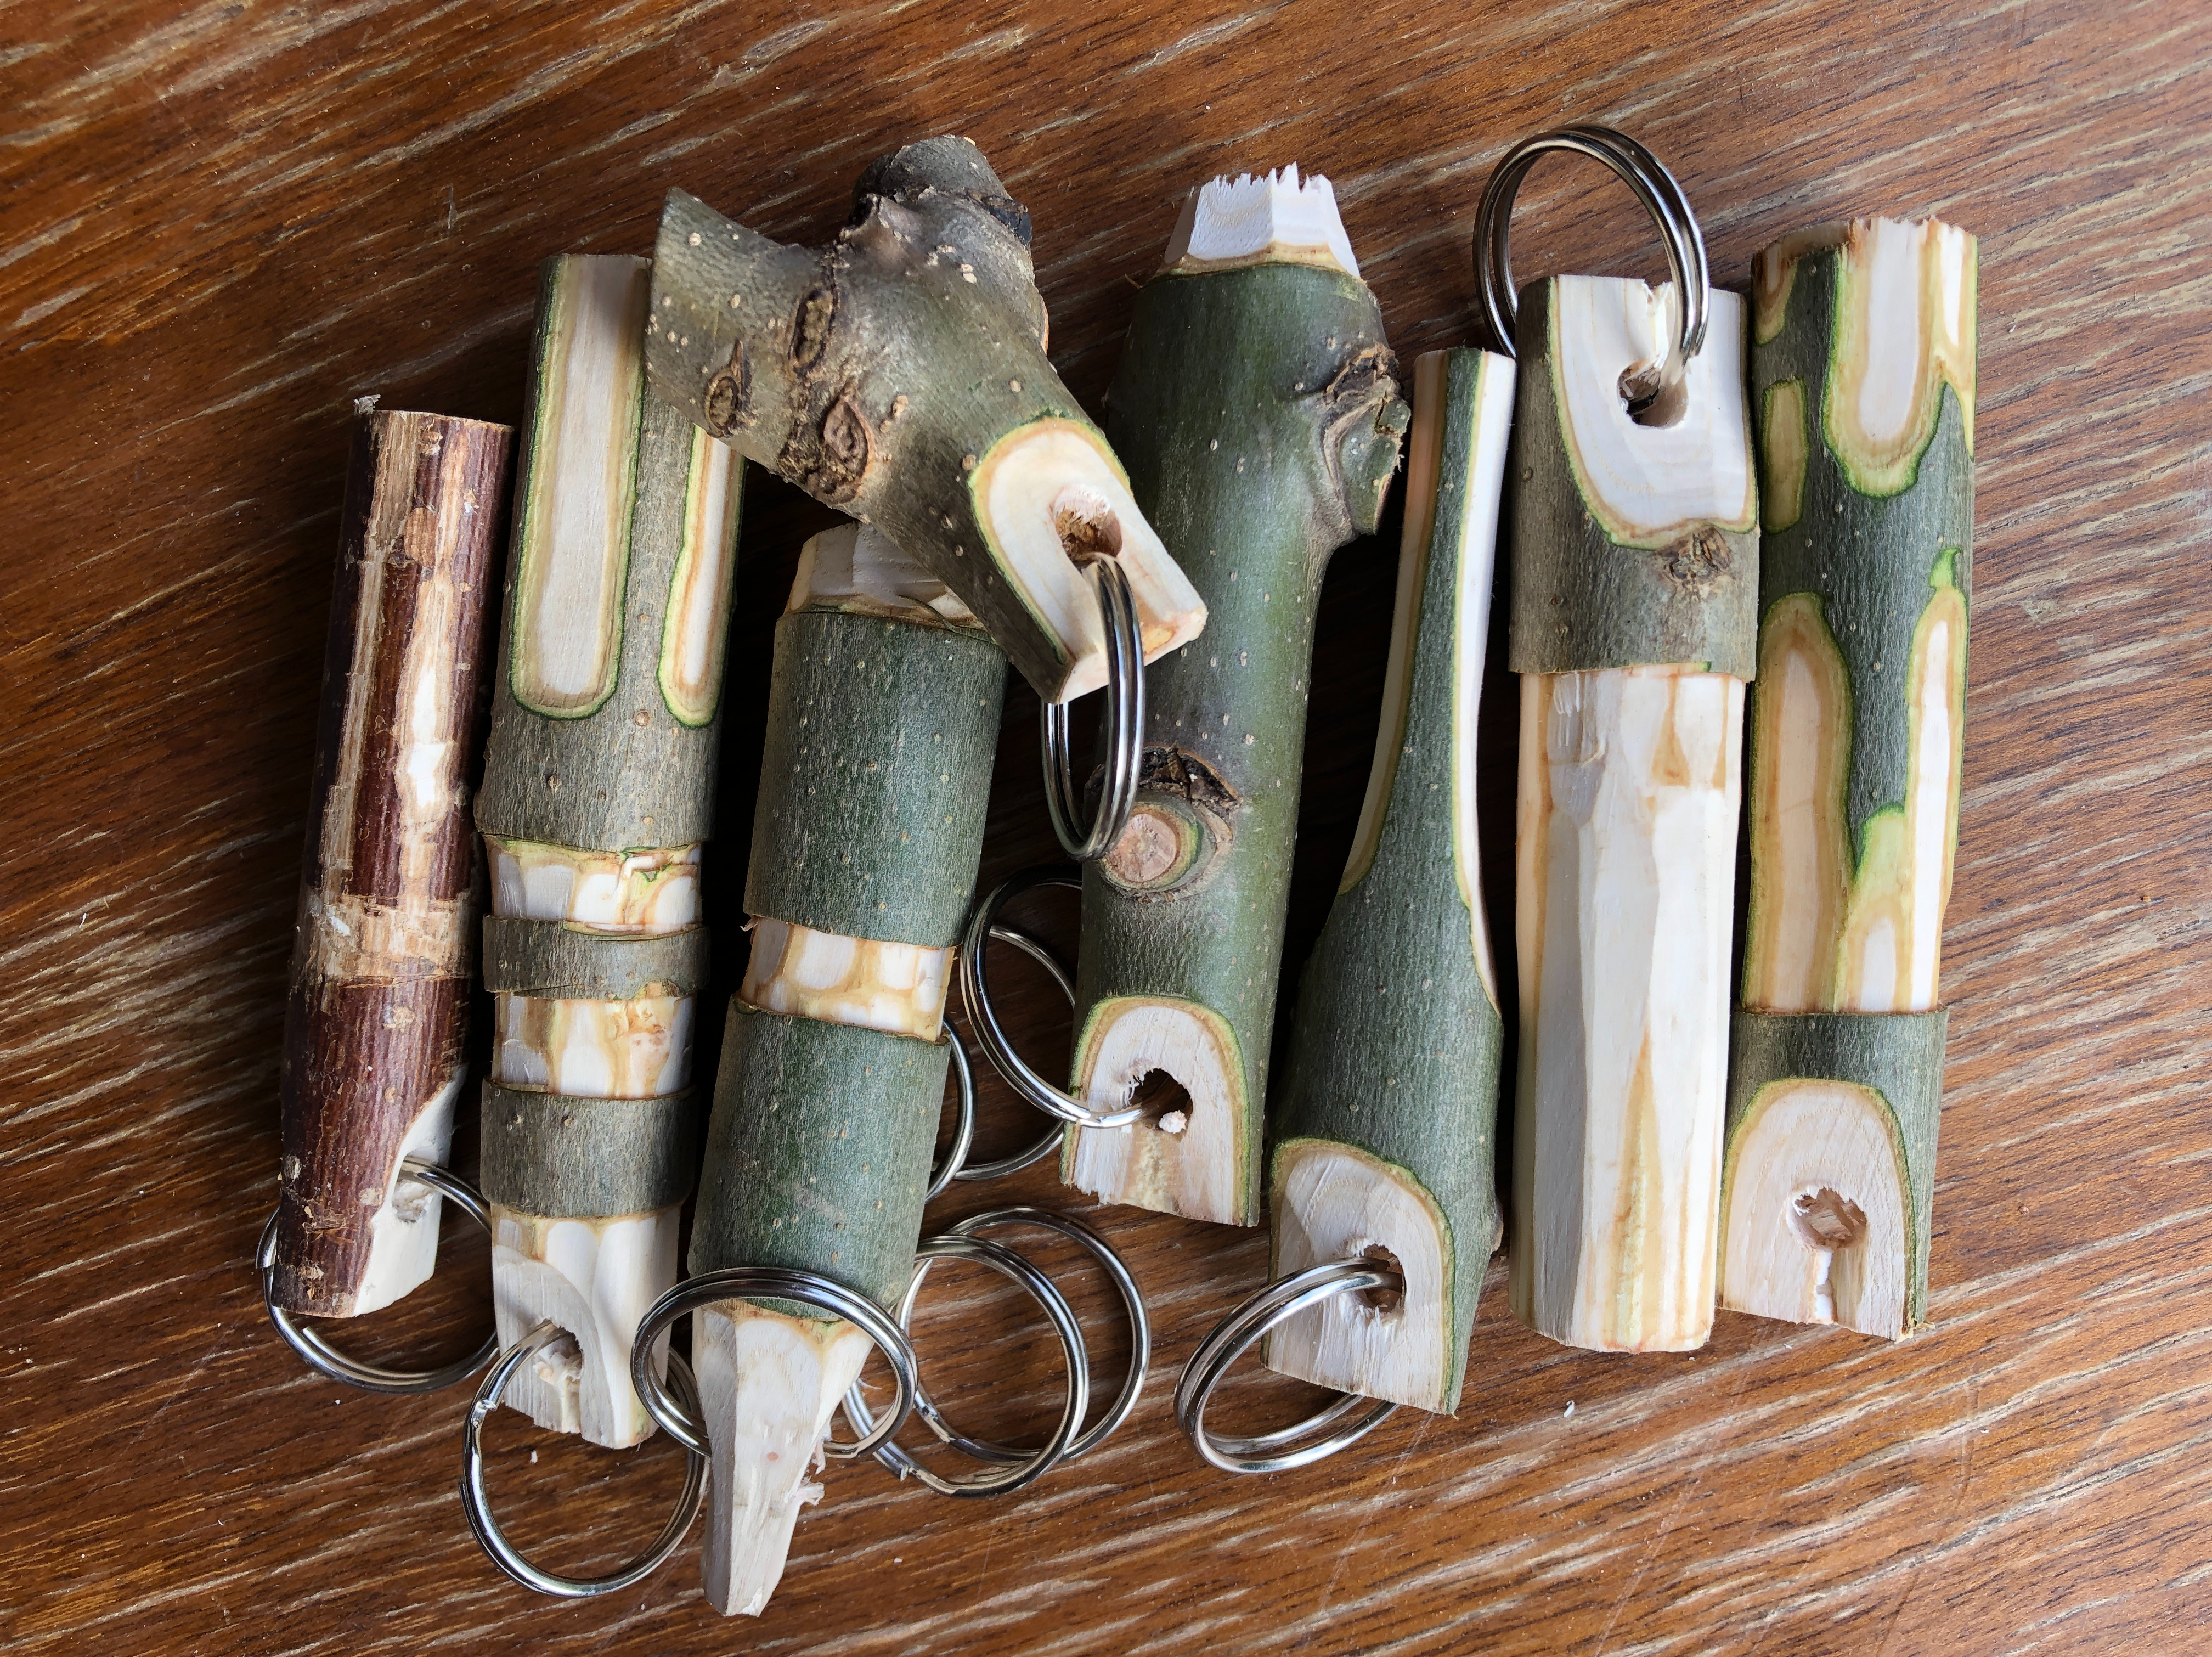
Once the hole is drilled, it’s time to decorate. Whether you want remove all of your bark or create patterns using stop cuts, the world is your oyster. A stop cut involves creating a line or cut which is perpendicular to the direction that you are carving. Do this by turning the stick 90 degrees then pushing and rolling it along the blade of the knife. When you rotate back and carve towards the line, your blade should stop at the line and give you a nice clean finish. This is the theory. It can take a bit of practise to get the stop cut deep enough and there will be times when the blade does not stop. When this happens with students, encourage them to incorporate the “mistake” and alter their design.
When we made this project, some students really took their time on the detail while others carved all of the bark off in minutes and then proceeded to make another keyring for their sibling, and then mother, father, grandma and cat.
Top tip: Drill holes before decorating. Sometimes, the stick can split during the drilling process and it’s pretty soul destroying if you’ve already decorated and then you need to start over!
Step 6) Add the ring
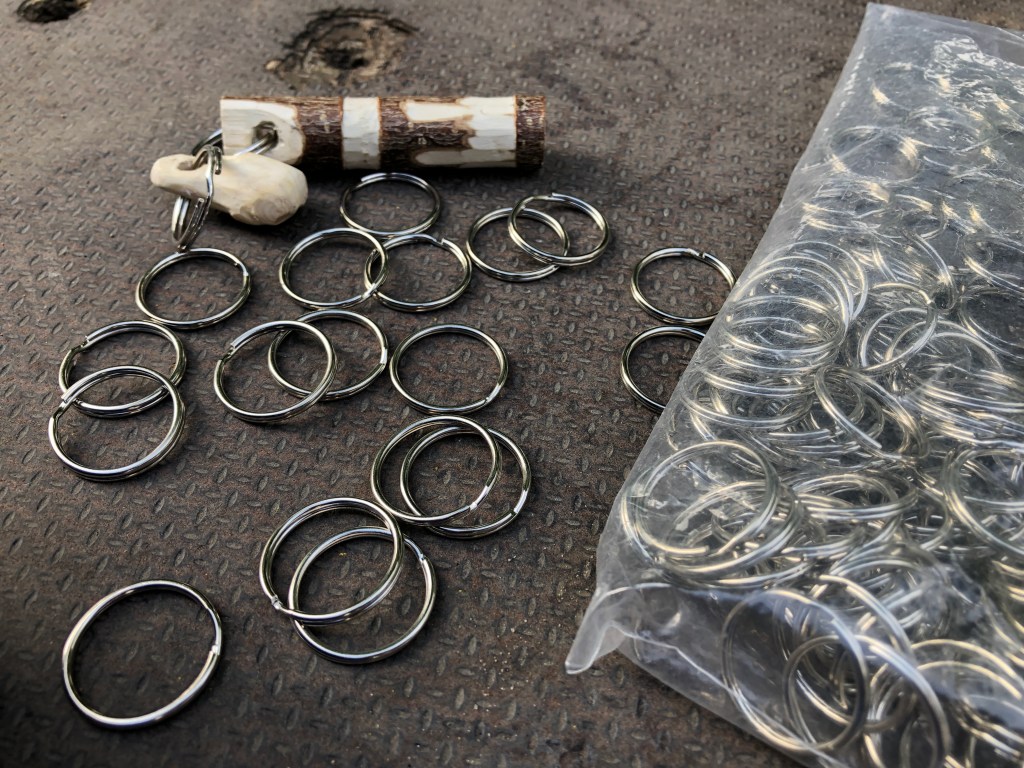
The final step is to thread your creation onto the metal ring. Depending on the dexterity and fine motor control of your students, you might need to assist with this. The minute you find a student who can do this independently, make them your expert and then pop the kettle on.
So there you have it, the third post in our Project Inspiration series. Stay safe, stay healthy and start creating.

One thought on “Project Inspiration: How To Make Wooden Key Rings”