

Following our recent blog post on how to create wooden spinners, next up in our project inspiration series is bamboo panpipes. Opportunities for learning include safe tool use, measurement and fine motor skill development. This year, we created bamboo panpipes during our Grade 2 measurement unit. The measuring, re-measuring and sawing is a wonderfully authentic learning experience for measuring in centimetres.
Whether you’re using it as a way to practise measuring or as a challenge to play the perfect pentatonic scale, this project is great. The children also have something to take home at the end, which is a win in anybody’s book.
A Quick Note on Organisation
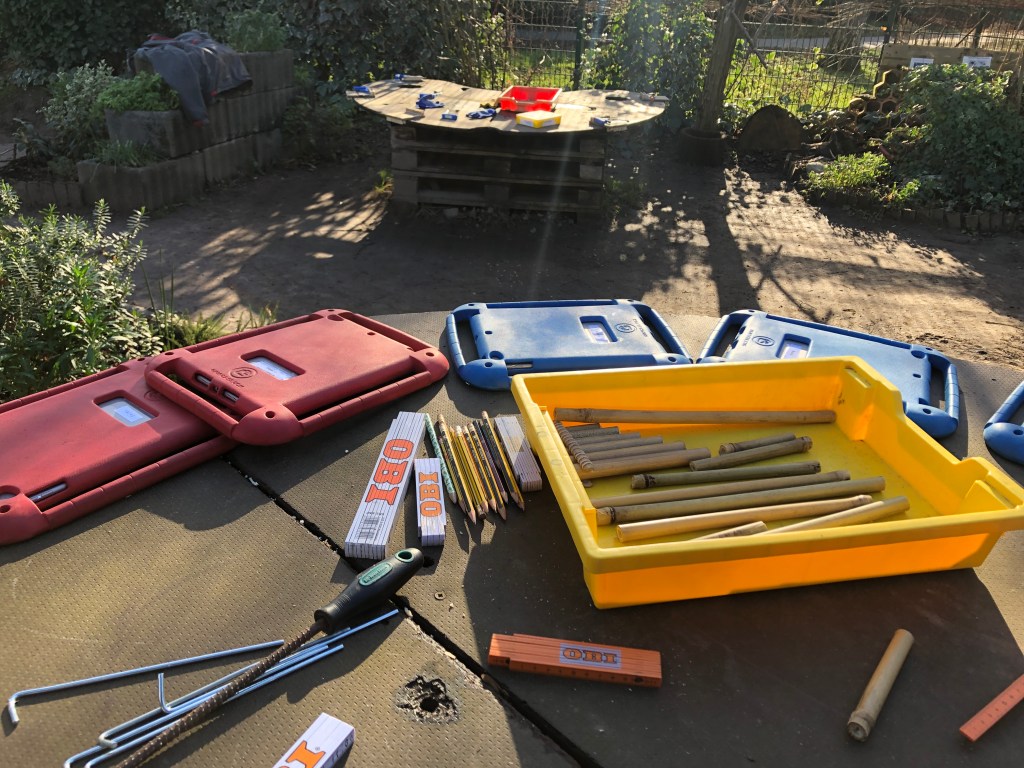
Sawing table & everything else table 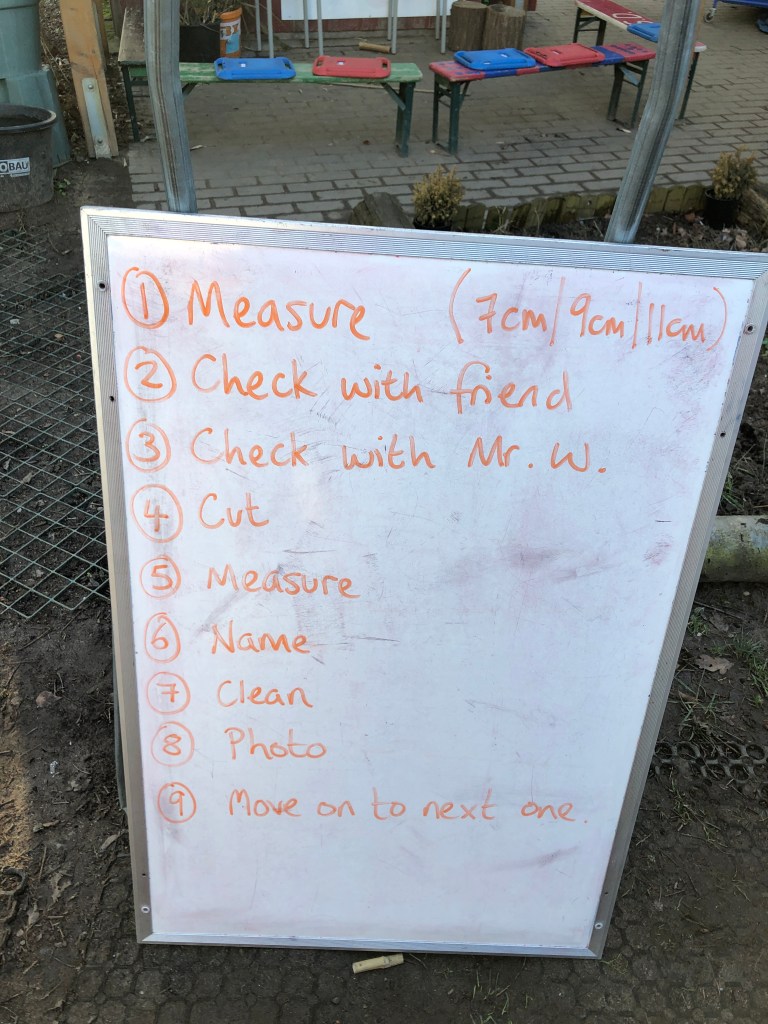
Be clear about the process
As with everything on this blog, you are going to take ideas and adapt them to suit your own space, number of students and confidence levels. When taking on this project, remember to consider the following:
The Layout of your Space – Consider having an area for sawing and a separate space for everything else. This will help students to manage their space bubbles while using the hacksaws.
The Process – Be clear about the process you want students to go through. For example, only approach the sawing table when your measurement has been checked and only when there is an available saw. When you’ve cut your bamboo, move back to the work station for sanding and cleaning.
Be Prepared: Giving each student a 1.2m length of bamboo to work with can be hilarious but also potentially hazardous. When concentrating on measuring, they tend to lose awareness of the other end of their stick and other people end up getting hit or poked. Pre-cut your bamboo into more workable lengths.
Step 1: The Bamboo
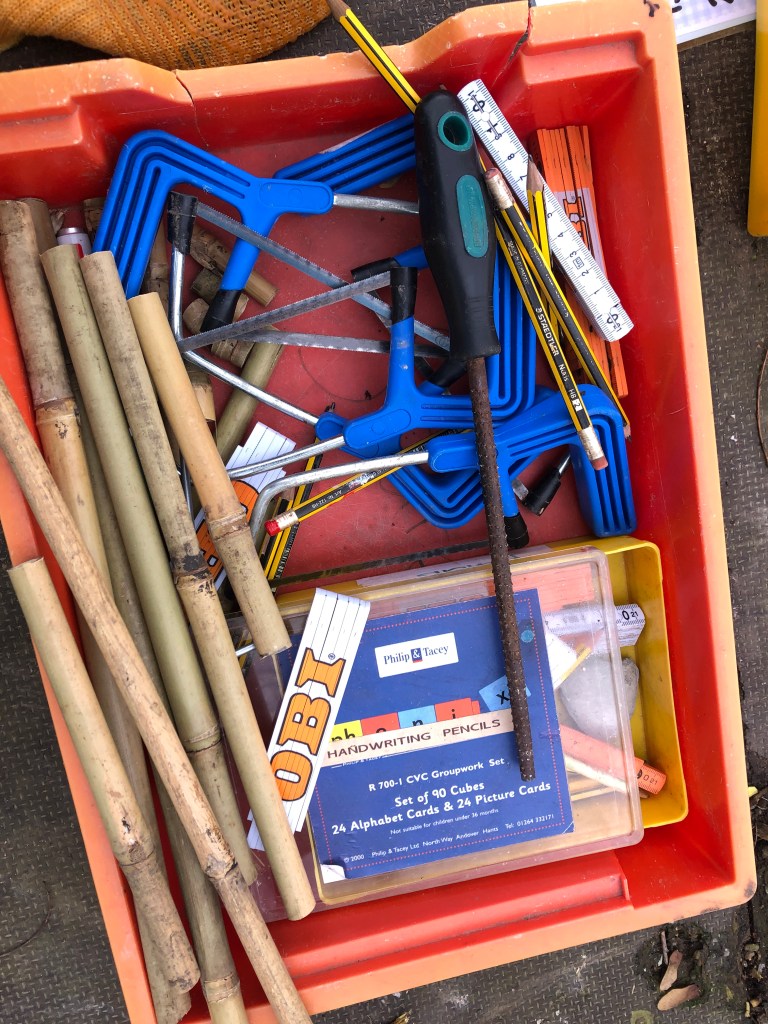
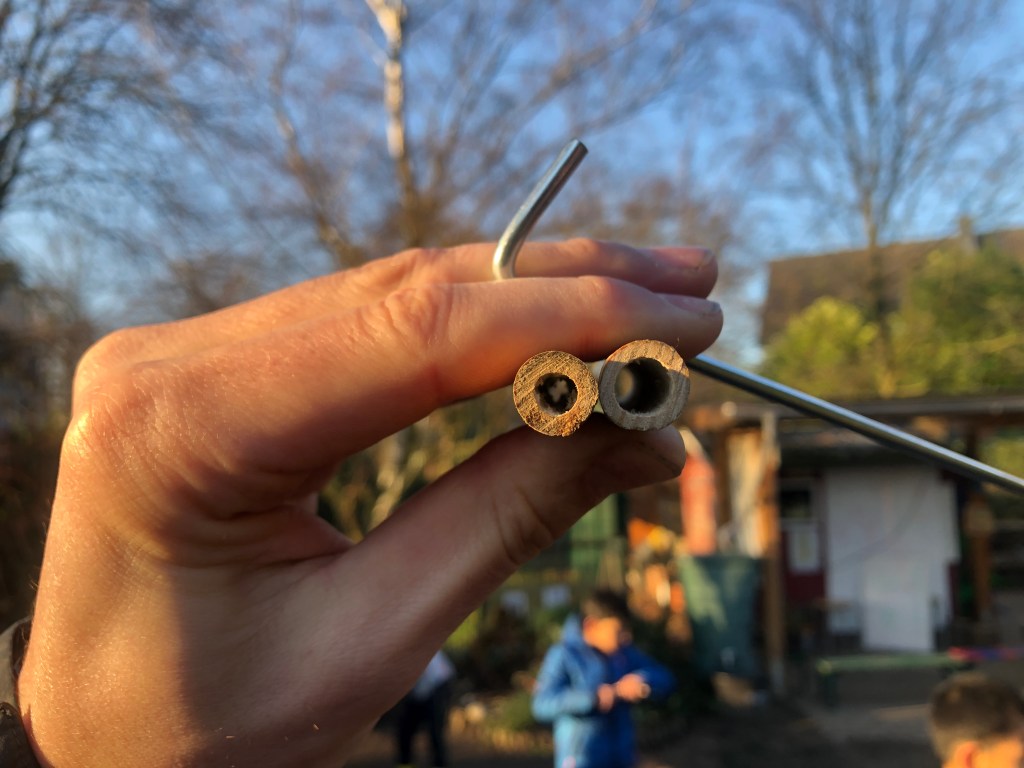
As a rough guide, you’re looking for bamboo with a diameter of 1.5cm. Don’t get too hung up on finding the perfect size. Just be aware that the bigger the hole in the middle is, the more air you’ll need to make a good sound.
GEEK ZONE: Bamboo is a monocot which means, like grass, it grows from the bottom up. The sections and nodes show where new growth occurred and the internal diaphragms aid the the transportation of water and nutrients. What that means for us is that wherever you see a node, the tube is blocked. If you wanted to, you could use these natural blockages to help create your panpipes. However, to assist with cleaning, tuning and ease of construction, we suggest avoiding nodes where possible.
Step 2: Measure
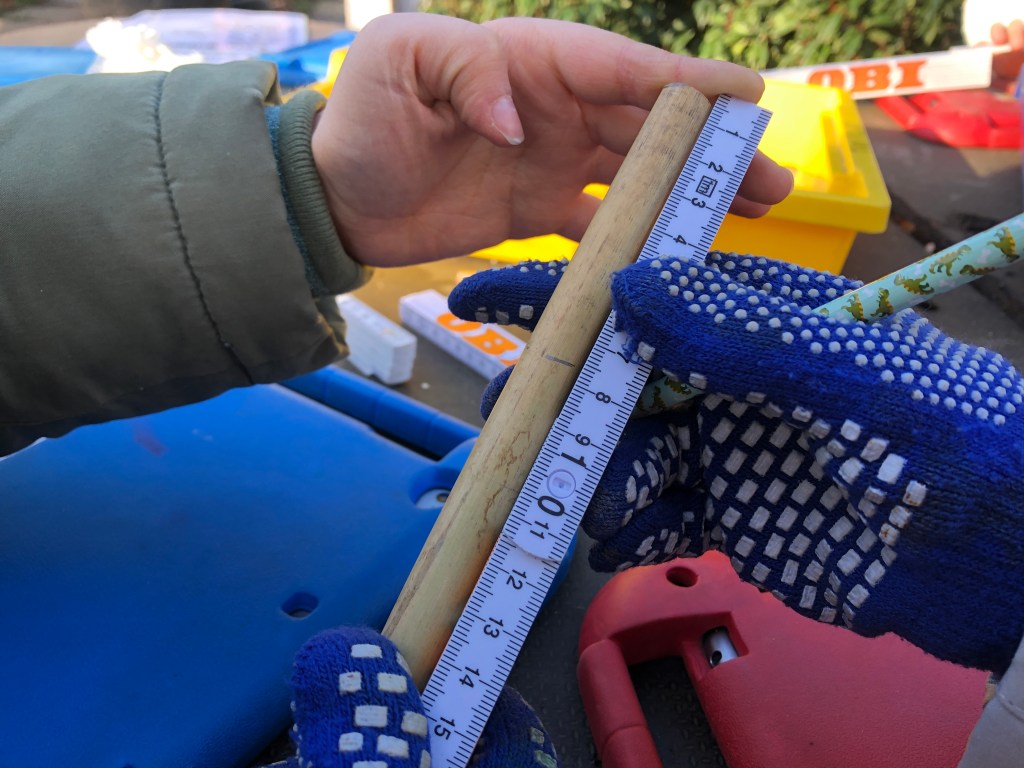
“Measure twice, cut once” and, “You can’t put it back on”. With these pearls of wisdom from my carpenter brother in mind, we get students to measure twice before getting a friend to check their measurement too. [Insert a short ‘measuring in centimetres’ tutorial here if necessary]. Initially, we included a ‘check measurement with adult’ step before sawing. We started at 7cm because we found that anything less than that was difficult to get a sound out of.
Top tip: Because we want our pipes to be node-free, make sure that your students know their measured distance should not cross a node.
Step 3: Cut
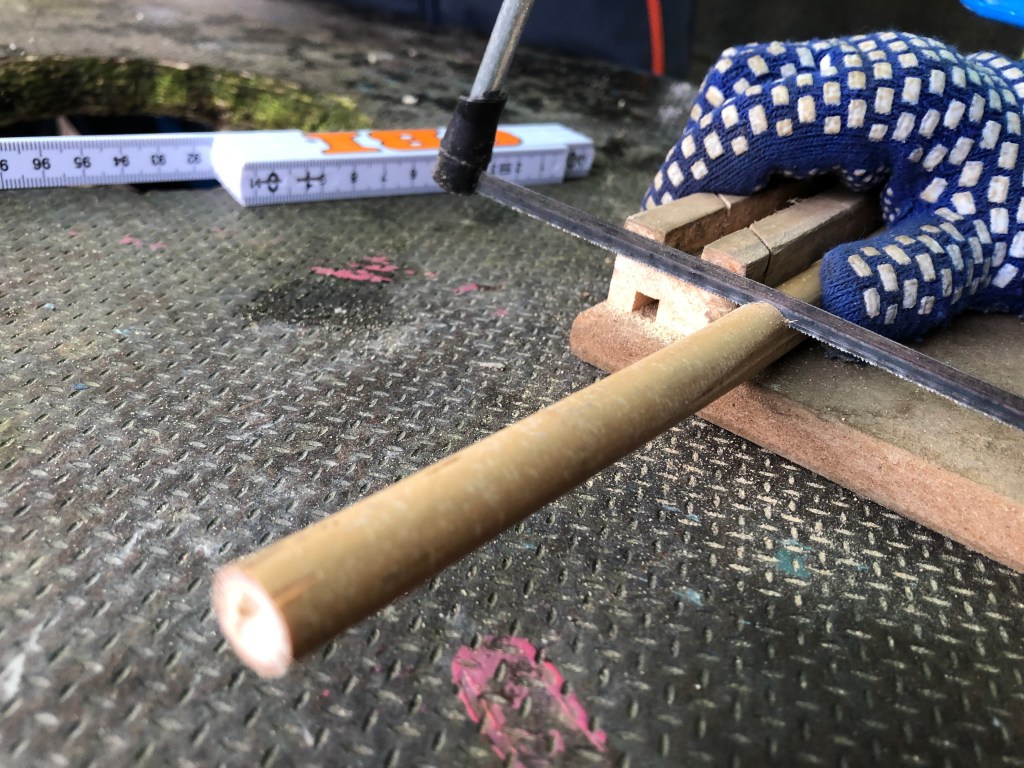
It’s time to get the hacksaws out. Remember to have a glove on the hand that is holding the bamboo. Try to cut as straight as possible to make your life easier later on when glueing everything together. We find bench hooks really useful to aid the sawing process but they are not essential.
If your learners have little experience with using a hacksaw, getting a straight cut might be easier said than done. If this is the case, do a quick demonstration and then give them some time to practise.
Top Tip: Keep an eye on the condition of your hacksaw blades. They can get blunt fairly quickly and sometimes bent. Bent blades can make it impossible get a straight cut and can be frustrating for students. Have a pack of spare blades and change them out as necessary.
Step 4: Name
For the sake of your own sanity, do not miss this step. BEFORE THEY DO ANYTHING ELSE, students should write their name on each freshly cut piece of bamboo. As a general rule, we encourage students to be responsible and keep tabs on their own materials. As you can imagine, this is successful to varying degrees. Names help.
Step 5: Clean and Sand
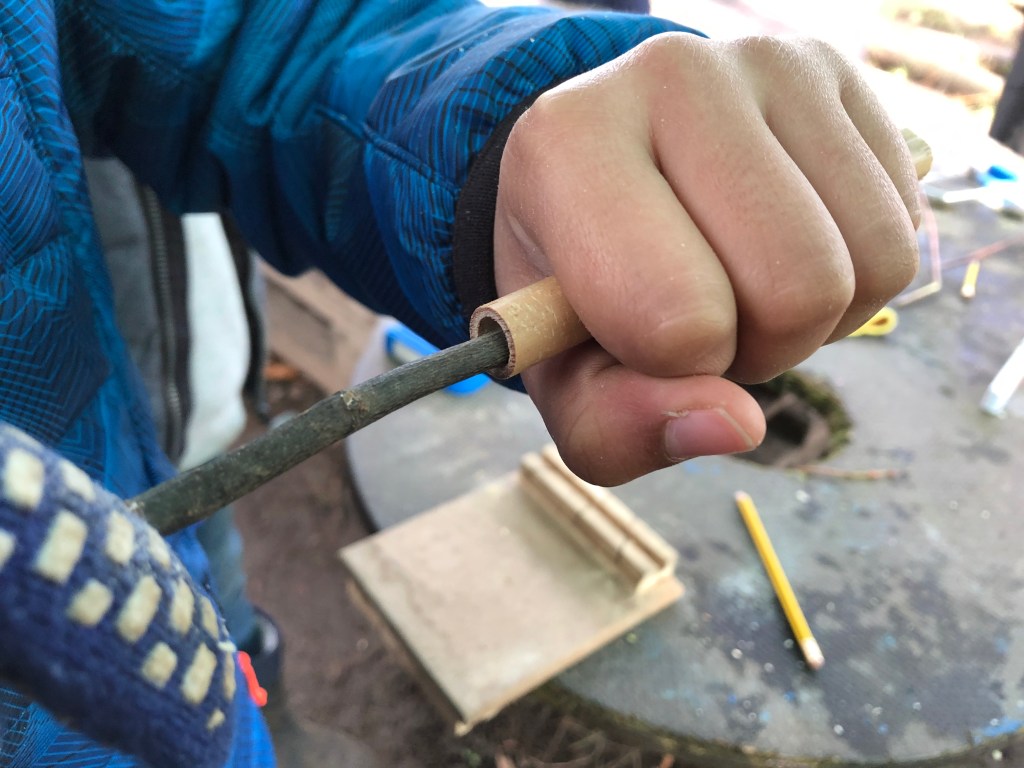
Freshly cut bamboo might be a little sharp and can contain a surprising amount of fluffy material. Sanding the ends of your pipes to give them a nice smooth finish will make your bamboo much more agreeable on the lip.
The inside of your pipes should be as clean as possible. Depending on the diameter of your hole, you might be able to use a circular file. Otherwise, grab a tent peg and start poking. This cleaning process is a vital step. Any material left inside the tube will interfere with the vibration of the air stream, which is a fancy way of saying that your tube won’t make a good sound.
Students will probably try and test the pipes once they are clean. At this stage, it’s worth having the discussion about sealing one end with a finger to create a better sound.
Step 6: Repeat
If, like us, you are using this project as an opportunity for children to hone their skill of measuring in centimetres, then you might also like to specify the lengths. We used 7cm to start with and then did 2cm intervals up to 15cm. Repeat steps 2 through 5 as many times as you need.
Step 7: Glue
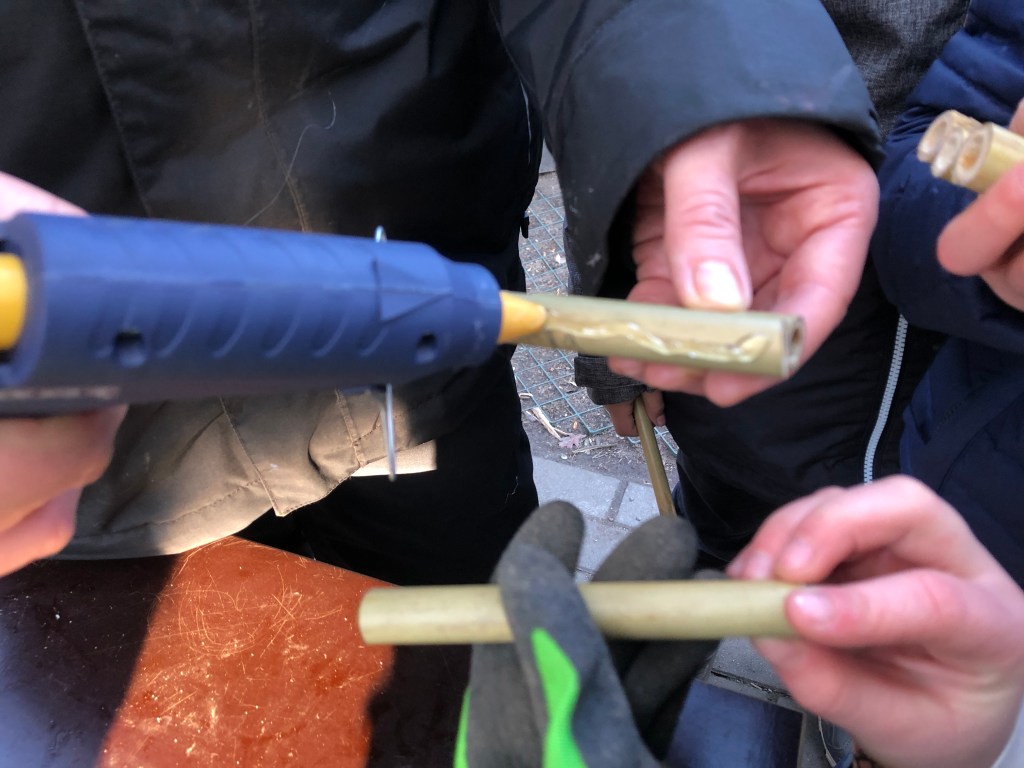
To attach our pipes together, we used a hot glue gun. This is not the most environmentally friendly choice as the glue is most definitely not made from nuts and berries. It was, however, quick and fairly simple. We are looking for an alternative sticking solution.
Step 8: Plug
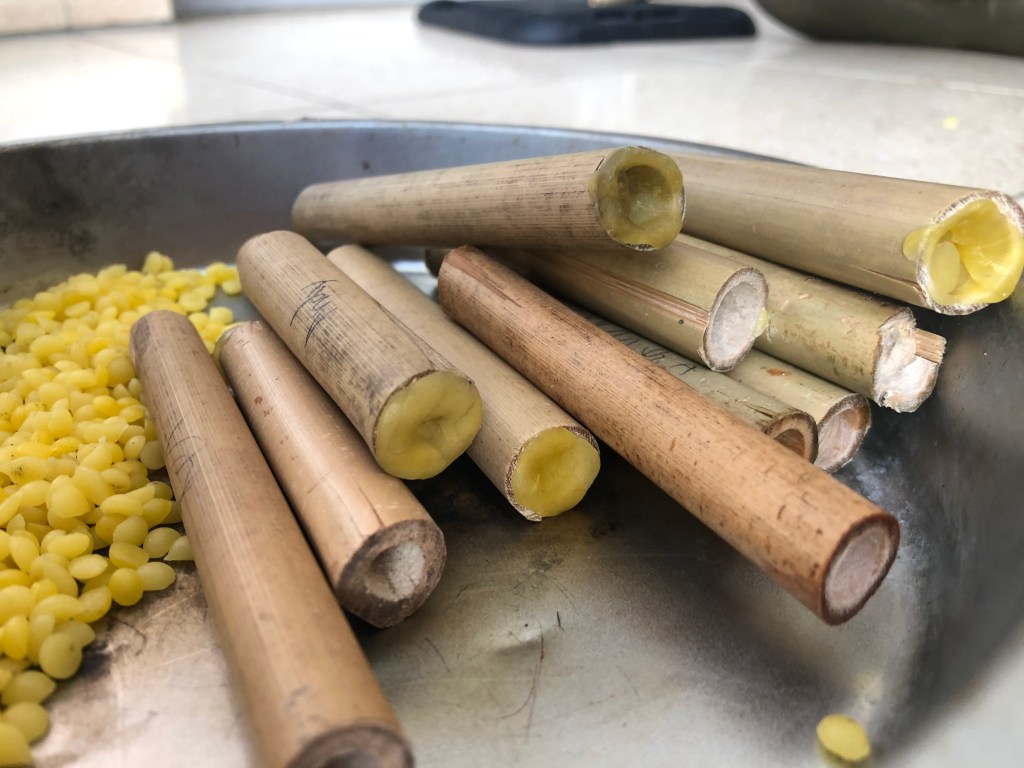
You are aiming to seal off the end of each pipe so that the sound resonates beautifully when you blow across the top. In the first trial versions of our panpipes, we experimented with duct tape and white tack. Both methods worked fine but looked terrible. Enter beeswax. As well as having lots of health benefits, beeswax is malleable and fairly easy to work with. We used beeswax pellets which meant that students had to smush and mould a couple together to plug each hole. We completed this project in the middle of winter and needed to use the staff room microwave to help with softening up our beeswax pellets.
If you want to be clever with your hole plugging, then it is possible to tune your pipes. The more beeswax you stuff into the tube, the smaller the space inside becomes thus creating a higher note. This is great if you have the time and can be an interesting open-ended challenge for your big thinkers!
Step 9: Decorate
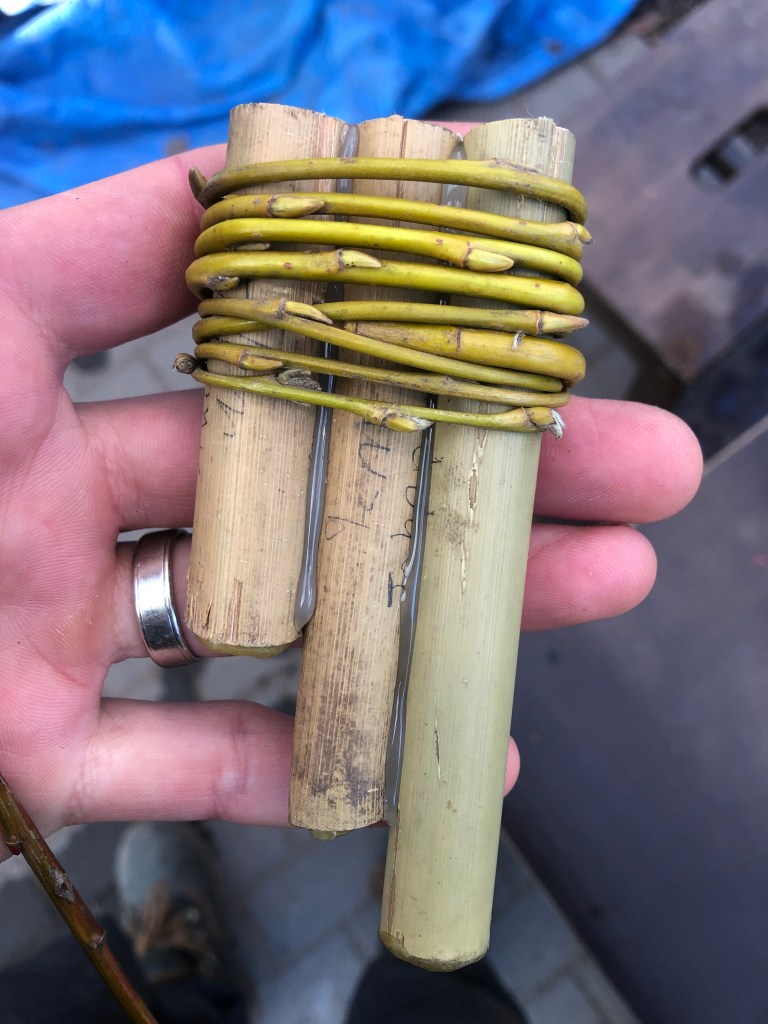
Fresh willow 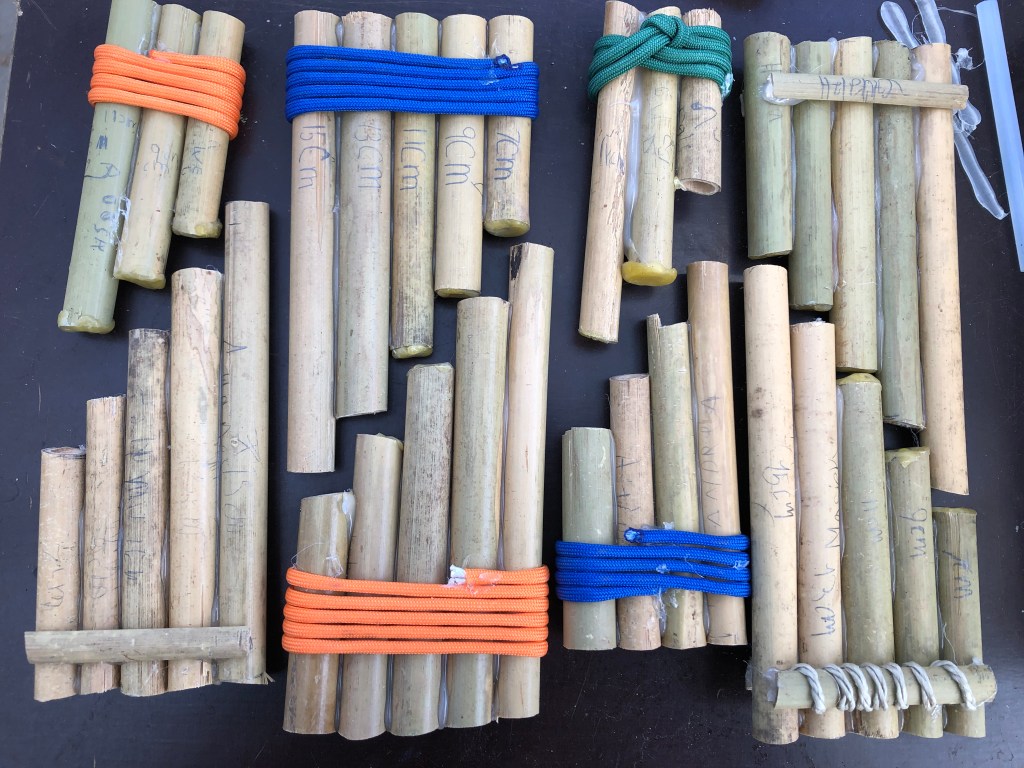
Paracord & wrapped bamboo
How you finish your panpipes is up to you and will largely depend on the materials that you have available. At the time, we had some freshly cut willow which gave us a really nice natural finish. Some chose colourful paracord while others used batoning to split bamboo before wrapping it with sisal. The choice is yours.
So there you have it, bamboo panpipes. When it comes to playing the panpipes, it’s probably safe to say that your students won’t match your level of experience of blowing into beer bottles. So, just like the wooden spinners, encourage a little bit of experimentation and practise.
